There were no snow days in May.
I had a terrible time catching up on my self-imposed schedule without those wonderful pockets of unexpected time. I did manage to catch up on two of the five (six?) BOMs, and I participated in a Quilt Along, which made me actually finish a project. July has the potential of catching all the way up, but we are taking a short vacation AND expanding our family, so I may be sidetracked!
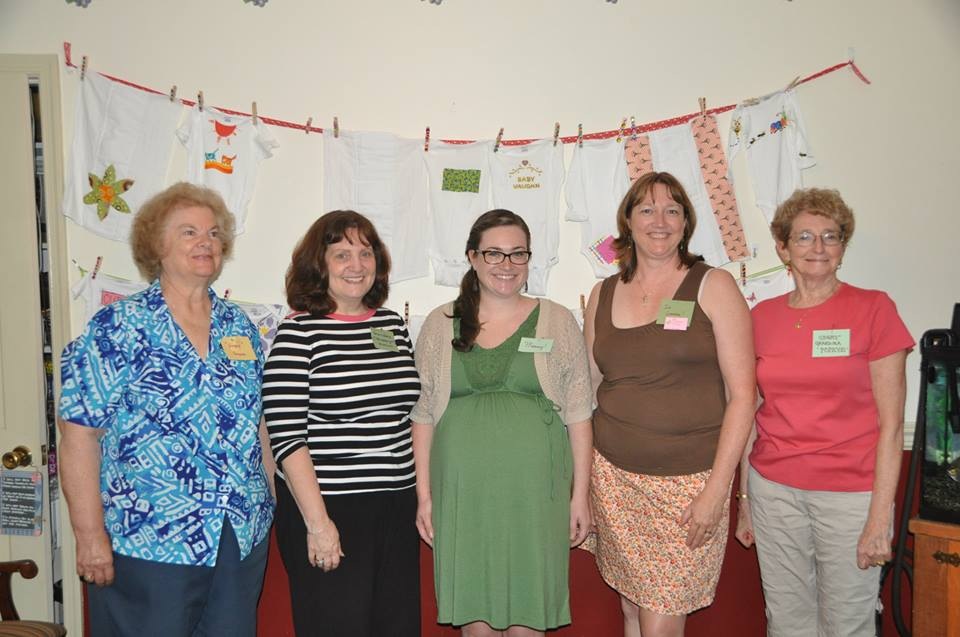
Our oldest, Adrienne and her husband Jeremy are expecting our first grandchild July 18, so a baby shower was in order. And true to the Crafty Paquette image, we had to produce something clever, so all the guests decorated onesies! There was a choice of fussy cutting fabric and using fusible web (which I later stitched down the edges) or we had fabric paint for those who were way more crafty inclined. (Guess which one I made...) ;-)
I love this picture: Elaine Paquette (my mother-in-law), Doreen Vaughn (Adrienne's mother-in-law), Adrienne, me, Margy Spradling (my mom). Or as Jeremy labeled the picture: Great Grandmother, Grandmother, Mother, Grandmother, Great Grandmother.
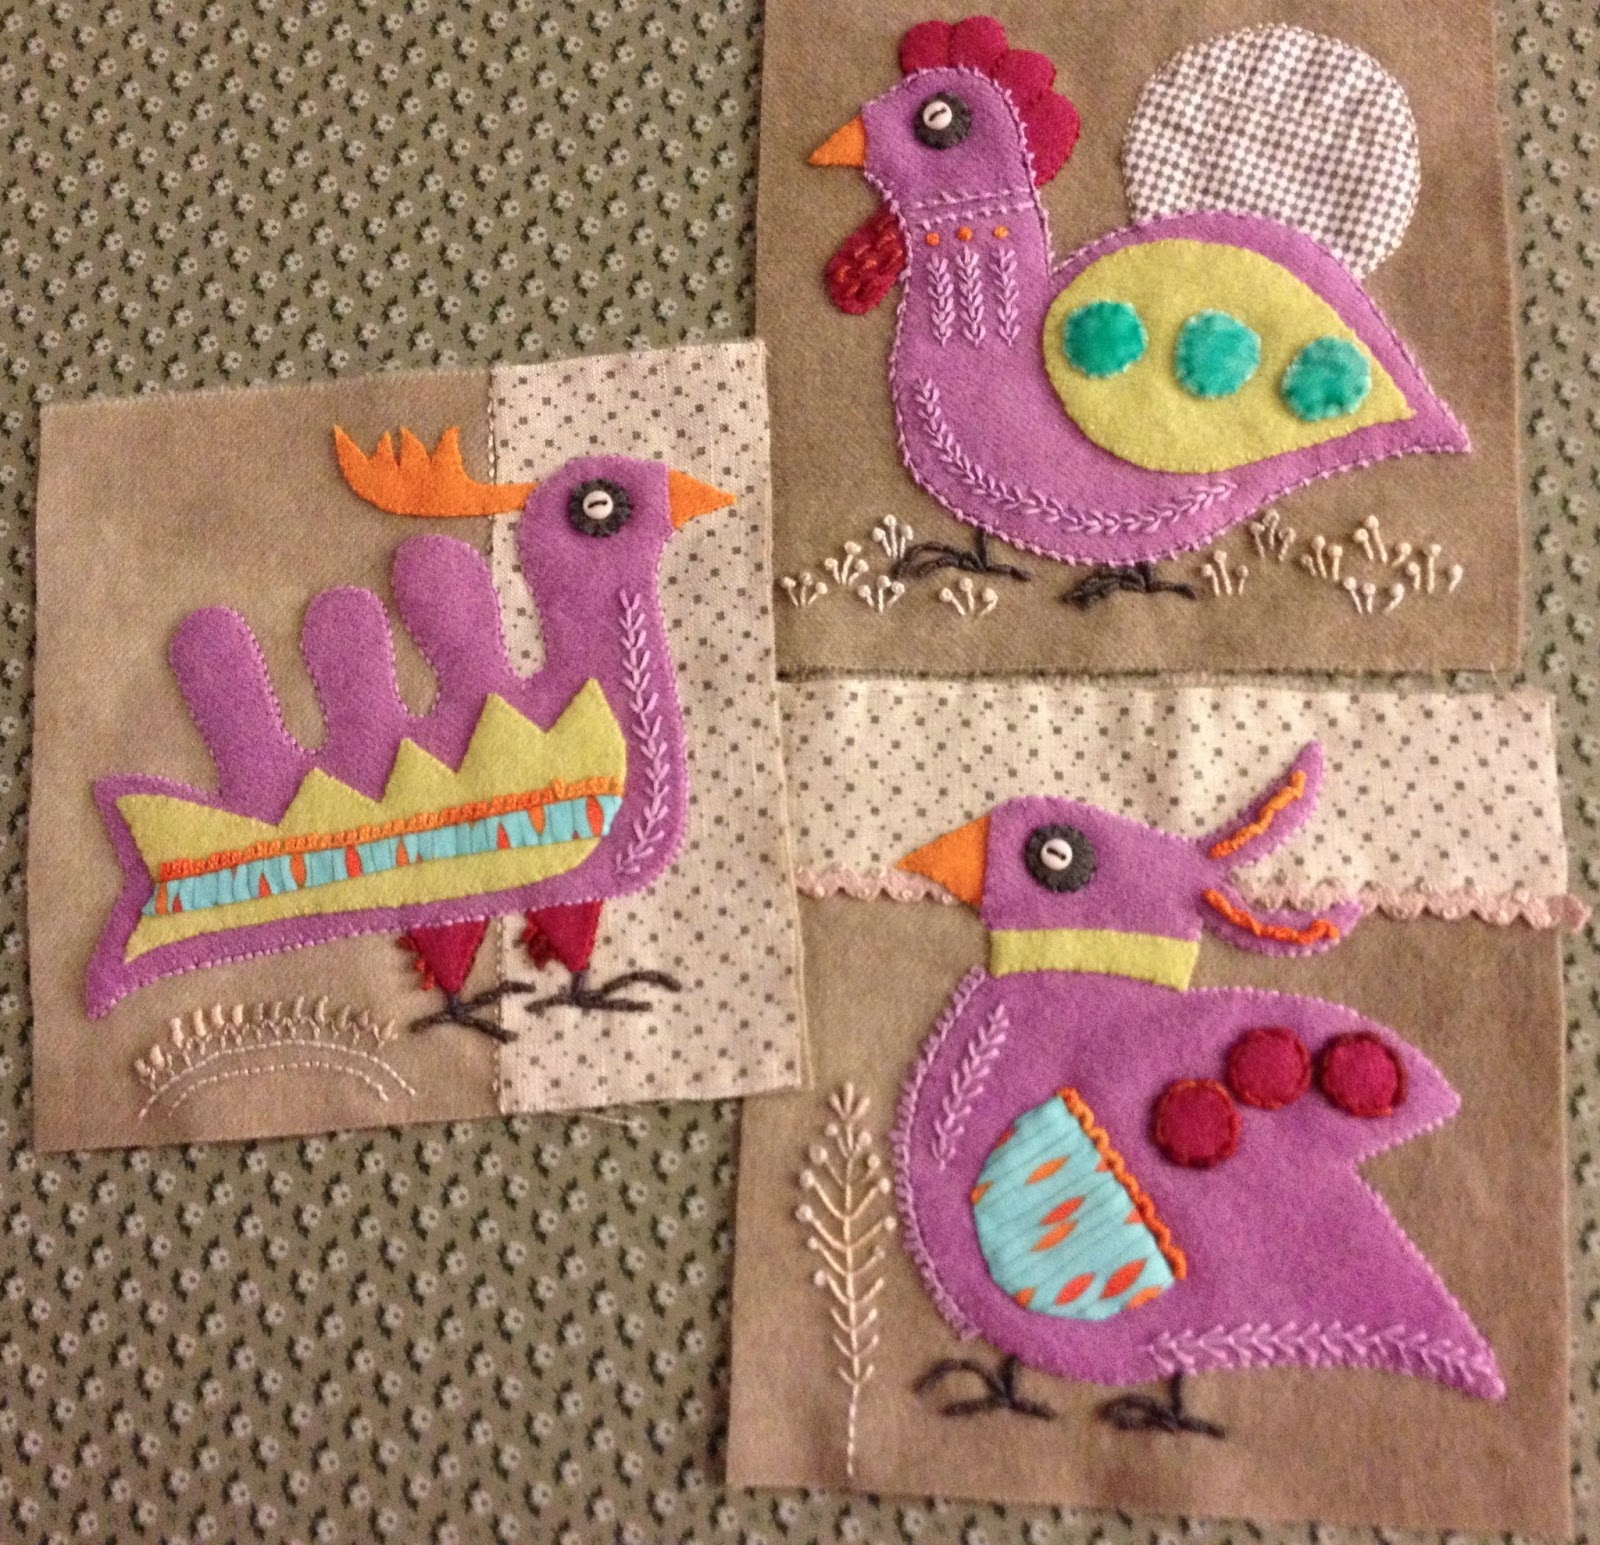
I was able to keep up with the Sue Spargo Birdies BOM. The lavender set came in May, the eggplant set came in June. I am now officially halfway through these birdies - there are 30 in all. I'm currently prepping July's birdies to take on vacation, since I can't take my sewing machine...
The stitching adds so many great textures to these pieces. I have to look at these with my fingers as well as my eyes.
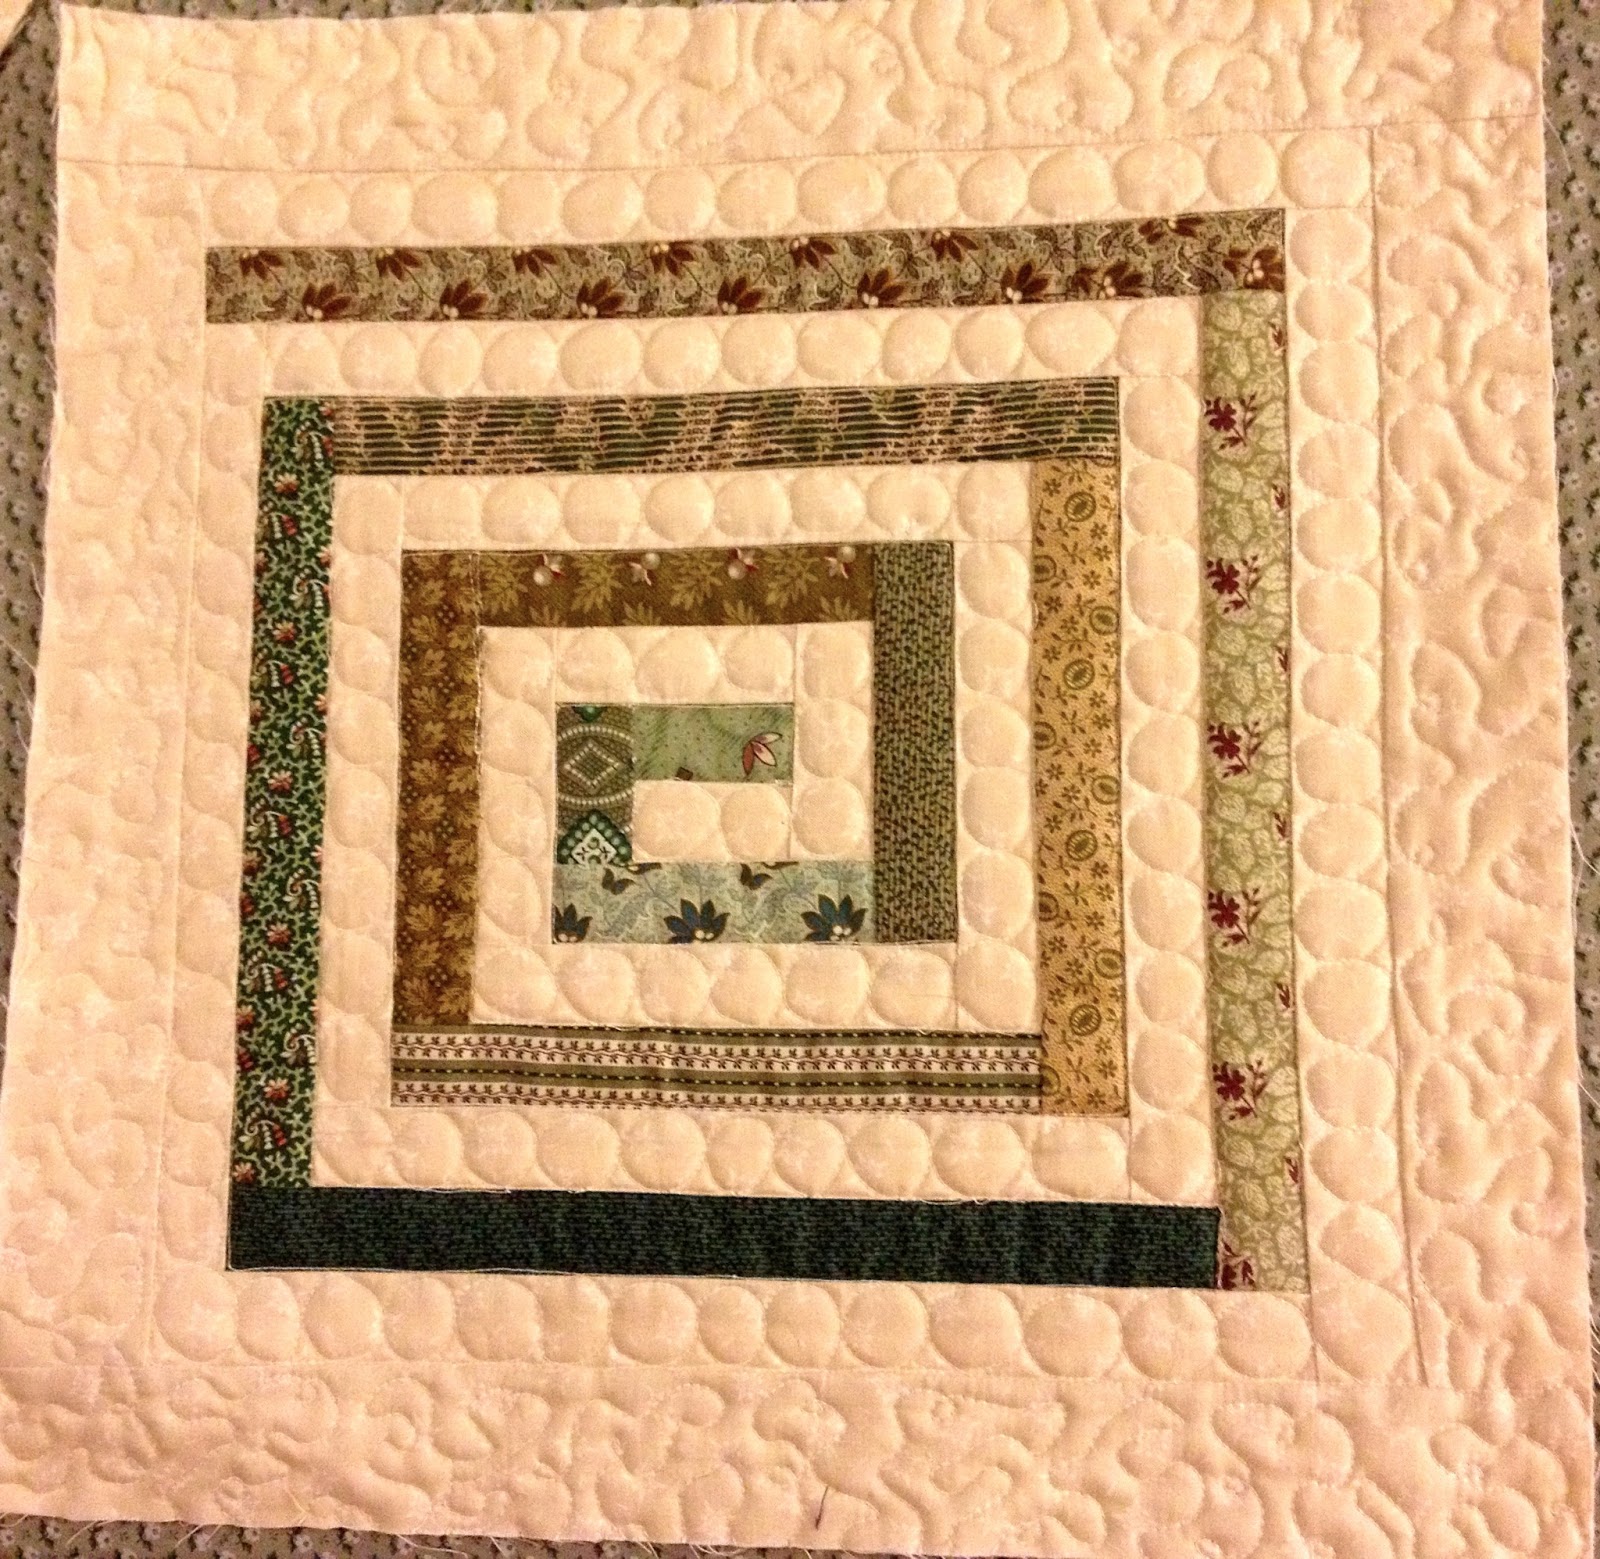
The only other BOM I was able to catch up on was the Quilt As You Go (QAYG) which can be found at this website: http://pileofabric.com/skill-builder-bom/
These two above were Lesson #3.
These two above were Lesson #4 which involved English Paper Piecing. I've already mastered the art of the hexagon with a Grandmother's Flower Garden I've been working on for the last couple of years or so. This lesson introduced using interfacing instead of cardstock as the base for the shapes. The idea behind the interfacing is that you leave it in, so I was willing to give it a try. For me, I've decided I prefer using the cardstock, because I had a hard time 'feeling' the edge of the interfacing as I was basting it, so I didn't feel my shapes were as precise as they could have been. The red block - I hated - I had so much mental blockage over the frustration of the piecing that I kept putting off working on it and wasn't sure I would even use it. But I made myself do it and I'm very pleased at how well it turned out! Not quite ready to say it is my favorite block, but it is ranked fairly high.

These two above are from lesson #5 and used Foundation Paper Piecing as it's lesson. The swirl was a little tricky and I ended up with some very narrow seams that my quilting had to fix, but it should survive the washing machine!
The hostess for the blog that I follow for the QAYG blocks above, had a quilt and pattern "RetroRubies" published in the Modern Patchwork magazine. She offered up a Quilt Along (QAL) activity using the pattern. (Here is the link to the QAL: http://pileofabric.com/retro-rubies-qal/ )The timeline for a QAL is much shorter - we had deadlines every couple of weeks rather than doing a block or two a month. My BIGGEST obstacle was choosing the darn fabrics! I knew I wanted a print for the background, it was just a matter of making a decision! Argh! Why is that so hard!
I found the green print at a local shop that hosted our FXBGMQG meeting in May, and in June I found a related print but in aqua to use for the back.
Months ago I registered for Leah Day's Free Motion Fillers Vol. 1 class on Craftsy.com, only to discover after I watched the intro that I needed to stop and make a quilt top to use as a sampler to practice all the different quilting patterns. About the time I finished making these blocks and was thinking about how to quilt this, it occurred to me I could use THIS as the sampler for Leah's class!
So you can see...
...each block...
...is quilted differently!
I love it when I can get two projects knocked out in one!
The materials for this little guy were given as a 'party favor' for a 'Quilt-In' my favorite quilt shop hosted in May.
I love hexis, and was just going to put this aside and work on it later, not at the Quilt-In, but my bff Kris, who came to the Quilt-In with me, had never done hexis so I gave her a quick tutorial. In no time I had my little flower all stitched together and there it sat. Until a couple of weeks ago I knocked this ditty out. I have a square vase that sits on the corner of my cutting table collecting scraps that wobbles noisily. This fits under it perfectly and prettily (rather than the scraps of batting I had shoved under it) and keeps it quiet!
The better news though is that not only is Kris hooked on hexis, she got her 14 year old daughter hooked on them as well!
The last thing I want to share with you is my newest tool, my most awesome
IRONING TABLE!
After a bit of web surfing and bouncing around ideas, I decided to turn one of our six foot folding tables into a dedicated ironing table. I bought four and a half yards of felt and stapled two layers of the felt onto the table. Then I took some yardage from my stash and stitched it to the felt on the bottom of the table. I opted to stitch it instead of staple it because I figure I will need to replace the covering at some point and I didn't want to be messing with the staples. My husband was a huge help with this, helping me make sure the materials were all tight. It was done just in time to work on the QAL top that was being put together. Pressing the quilt top and the yards of binding was WONderful!
I have it up on bed risers so it sits waist high.
What more could a quilter ask for?